The Lollipop Quilt – Tutorial 1
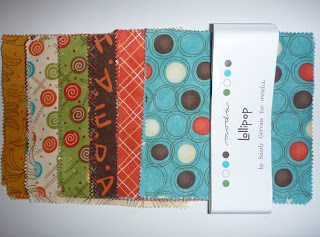
- 2 Lollipop charm packs (by Sandy Gervais for MODA)
- 1/2 yard Brown fabric for binding
- 1 1/4 yards of backing fabric
- 40″ x 40″ piece of wadding
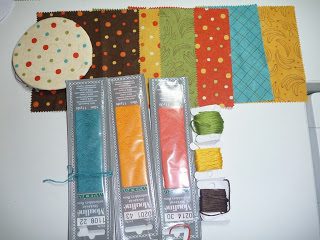
- Matching Embroidery Thread
- Neutral thread for piecing
- 3.5″ acrylic circle template (or template plastic – heat resistant)
- Fusible webbing
- Perle 8 cottons for hand quilting
- Marking tool
- Rotary Cutter, Scissors, pins, sewing machine.
A 1/4 seam allowance will be used for all piecing.
Recipe:
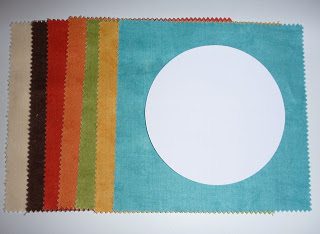
Step 1 – Separate the solids from each charm pack.
Step 2 – Separate the remaining charm squares into groups of the same colours.
Step 3 – Choose one (1) charm square from each colour group with a small print. These will become the seven lollipops.
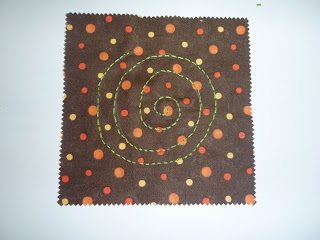
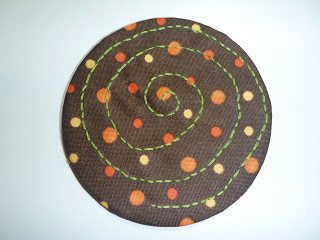
Step 4 – Place the circle template on the right side of your lollipop square and centre. Trace around it. Draw a freehand swirl on the right side of the square.
Step 5 – Using 2 strands of a co-ordinated embroidery cotton and back stitch, embroider the swirl design on each lollipop.
Step 6 – Iron fusible webbing to back of charm.
Step 7 – Cut around the circle . Making sure the swirl design is centred.
Now you have completed your first lollipop. Make 6 more.
Step 8 -Let’s make the sticks for the lollipops.
- Select some contrasting fabrics from the charm square pack
- Cut 1″ strips from selected charm squares. The strip should measure 1″ x 5″
- Fold 1/4 seam at one end of the strip
- Press the strip in half lengthways and open
- Press each long edge to the middle to form a stem 1/2″ wide.
- Cut a 3/8″ x length of stem of Heat n Bond. Iron on back of stem
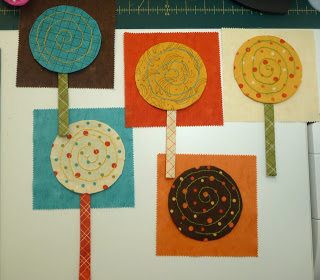
Some completed lollipop and stem sets
Look for my next post named ‘Lollipop Quilt – Tutorial 2’.

