Back to School Blog Hop – Corner Triangles

It’s my turn to talk about corner triangles as part of the Back to School Blog Hop. Sam Hunter from Hunter’s Design Studio is hosting a month (and a bit) long feast of tutorials on many of the techniques we commonly use in our sewing and quilting.
If you have missed any of the great tips and tricks then you can still visit:
- Sept 1: Peta Minerof-Bartos of PetaQuilts – So, Does that Diagonal Method for a Pieced Backing Really Work
- Sept 2: Cheryl Sleboda of Muppin.com – The Quilter’s Knot
- Sept 3: Teresa Coates of Crinkle Dreams – The Importance of Pressing
- Sept 4: Cath Hall of Wombat Quilts – Color Coding for Paper-piecing
- Sept 5: Sam Hunter of Hunter’s Design Studio – How to Calculate and Cut Bias Binding
- Sept 6: Melanie McNeil of Catbird Quilt Studio – Credit where Credit is Due
- Sept 7: Mandy Leins of Mandalei Quilts – How to Keep a Perfect 1/4” Seam Between Different Machines
- Sept 8: Rose Hughes of Rose Hughes – Fast Pieced Applique
- Sept 9: Megan Dougherty of The Bitchy Stitcher – The Care and Feeding of the Domestic Sewing Machine
- Sept 10: Lynn Krawczyk of Smudged Design Studio – Make a Mobile Art Kit
- Sept 11: Susan Beal of West Coast Crafty – Log Cabin 101
- Sept 12: Sarah Lawson of Sew Sweetness – Zipper Tips
- Sept 13: Jane Victoria of Jolly and Delilah – Matching Seams
- Sept 14: Jemelia Hilfiger of JemJam– Garment Making Tips and Tricks
- Sept 15: Ebony Love of LoveBug Studios – Curved Piecing Without Pins
- Sept 16: Misty Cole of Daily Design Wall – Types of Basting
- Sept 17: Kim Lapacek of Persimon Dreams – Setting your Seams
- Sept 18: Christina Cameli of A Few Scraps – Joining Quilted Pieces by Machine
- Sept 19: Bill Volckening of WonkyWorld – The Importance of Labels
- Sept 20: Jessica Darling of Jessica Darling – How to Make a Quilt Back
- Sept 21: Debbie Kleve Birkebile of Mountain Trail Quilt Treasures – Perfectly Sized No-Wave Quilt Borders
- Sept 22: Heather Kinion of Heather K is a Quilter – Baby Quilts for Baby Steps
- Sept 23: Michelle Freedman of Design Camp PDX – TNT: Thread, Needle, Tension
- Sept 24: Kathy Mathews of Chicago Now Quilting Sewing Creation – Button Holes
- Sept 25: Jane Shallala Davidson of Quilt Jane – Corner Triangle Methods
or mark in your calendar the remaining posts from:
- Sept 27: Cristy Fincher of Purple Daisies Quilting – The Power of Glue Basting
- Sept 28: Catherine Redford of Catherine Redford – Change the Needle!
- Sept 29: Amalia Teresa Parra Morusiewicz of Fun From A to Z – French Knots, – ooh la la!
- Sept 30: Victoria Findlay Wolfe of Victoria Findlay Wolfe Quilts – How to Align Your Fabrics for Dog Ears
- October 1: Tracy Mooney of 3LittleBrds – Teaching Kiddos to Sew on a Sewing Machine
- October 2: Trish Frankland, guest posting on Persimon Dreams – The Straight Stitch Throat Plate
- October 3: Flaun Cline of I Plead Quilty – Lining Strips Up
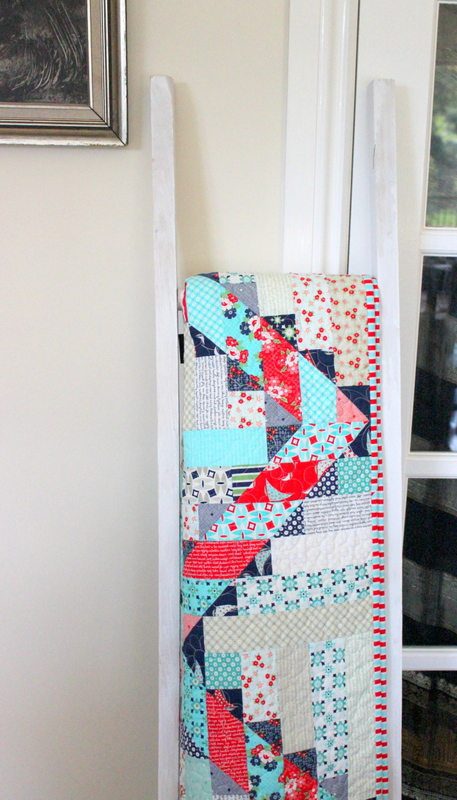
Lately, I have been making many quilts and blocks with corner triangles. It can be a simple process if you follow some simple rules. The most important rule is aim for accuracy.
Corner Triangles
Corner triangles are used in many block patterns as an easy way to make an angled piece rather than cut templates. It starts with 2 pieces. While these 2 pieces do not have to be the same size, the angle of both corners have to be identical. i.e the 2 pieces when placed together should have 2 sides flush.

To mark or not to mark
Use a visual guide to sew a diagonal line. There are three common methods.
- Draw a line from corner to corner.
- Use the markings on your machine plate or table.
- Use notions like the Clearly Perfect Angles. (One of my personal favourites).
Accuracy
Follow these simple rules to achieve a perfect corner triangle every time.
- Starch well to maintain the shape of the pieces.
- Cut your pieces with accuracy. It is really important that the 2 pieces when placed together perfectly fit along the top and side edges.
- Mark your diagonal line with accuracy.
- Pin your pieces in place so there is no slippage.

Make sure the needle starts and ends exactly on each corner.
- Use a scrap piece of fabric to lead onto the intended piece. This stops the fabric being sucked into the stitch plate.
- Use a machine foot that you can clearly see where the needle will be placed.
- If possible, manually lower the needle into the starting position of each piece.
- Slowly start and finish each piece.
Sew 1 stitch width on inside of line.
- The reason why we do this is to compensation for the fold in the fabric when you press it back.

5. Trim back your corner leaving a 1/4″ seam allowance. This reduces bulk.

6. Press not iron your corner. Aggressive ironing can distort the triangle. The bias has been taken care of by stitching on the diagonal line of the piece ( or bias ) before cutting. This gives it some body but distortion can still occur.
Why it is important to start and stop exactly on the corner ?
- Corner triangle pieces often intersect with other pieces and therefore the measurement on top and side must be accurate. If you have missed the corners on start and finish, there may be an overhang of fabric which affects the unfinished size of the piece. Never trim the excess as it will change the measurement of ‘x’ and will not fit with adjoining pieces or blocks. Always get out the unpicker and start again. It is worth it in the end.

If you can master these simple rules then making flying geese or any angled block will become a breeze.


You May Also Like

Back to school blog hop 2019

Last Days for Annie-Maree’s Giveaway
