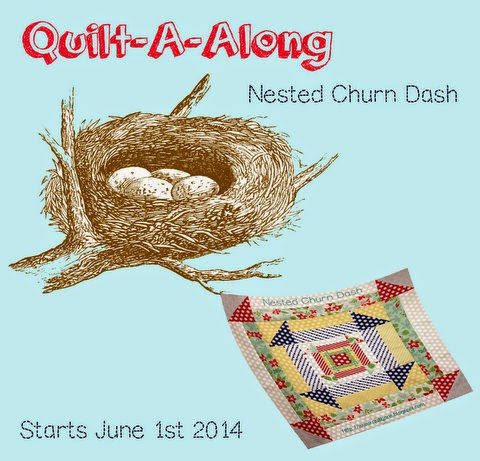
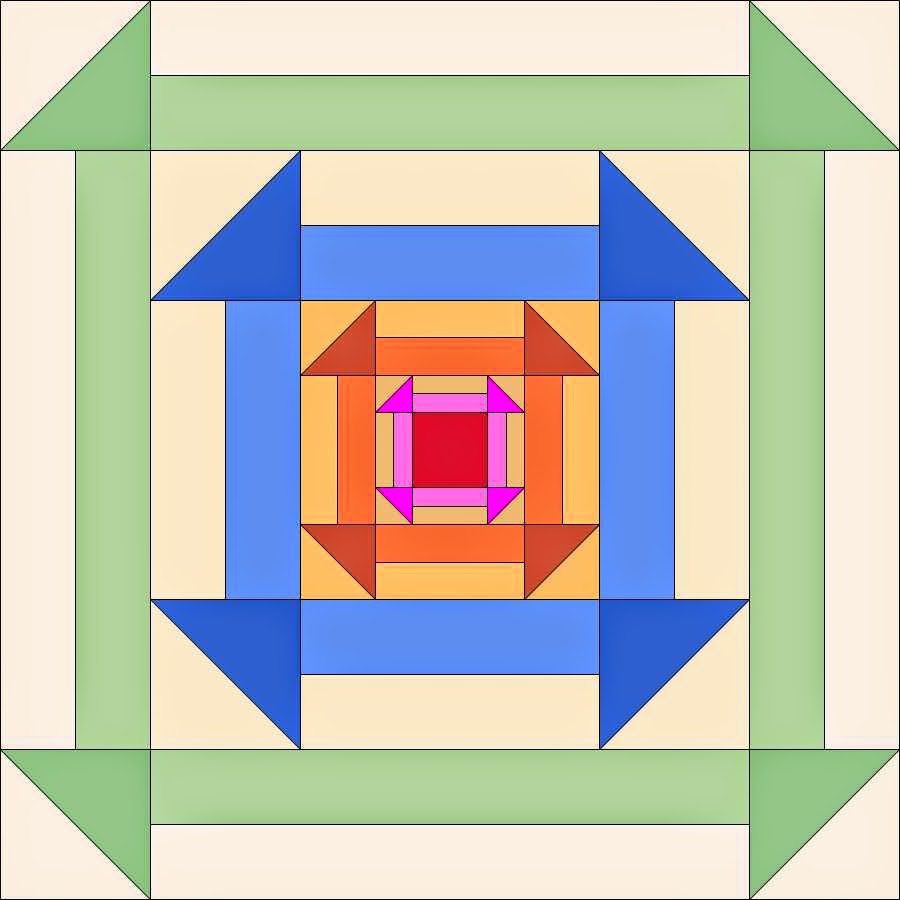
Nested Churn Dash QAL – Let’s get started
Welcome to the Nested Churn Dash QAL. It has been so exciting to see all the blocks popping up on FB and IG using the #nestedchurndash tag. So many beautiful variations.
Today I will be posting the requirements to make different layouts using the purchased block as the basic building block but before I start, let’s look at some fabric choices.
The golden rule with any fabric choice is that there has to be enough contrast between the each churn dash and the background.
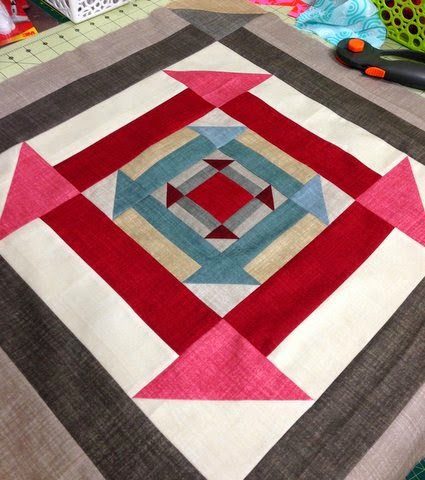
Solids
Solids, whether flat or textured, give a nice crisp and definite look to any project. This is a block made using Moda Weaves. They have a faux weave look to soften the block.
Collections
What is wonderful about collections from designers is that you have a beautiful palette of colour co-ordinated prints at your disposal. Many designers even use the same colour palettes from collection to collection so you can mix and match fabrics. Pre-cut bundles are fantastic for the scrappy look. Just make sure when selecting collections for this project, that there is enough of each colourway to suit your layout and the scale of the print (small, medium or large) is going to complement your block design.

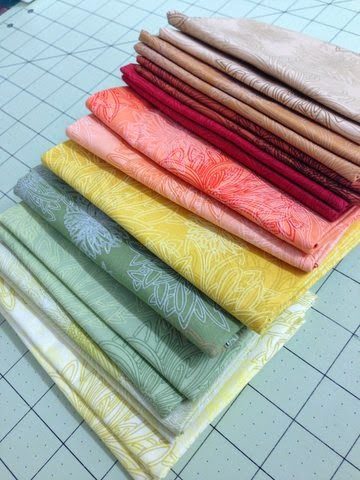
Blenders
Blenders are tone on tone prints that lie somewhere between a print and a solid. They add character to the block and usually come in incremental shades with a palette. Blenders are great if you want the background to go from light to dark, radiating from the centre.
Mixed
Select sharp solids for the background with a mix of busy prints. A nice scrappy look with the impact of solids.

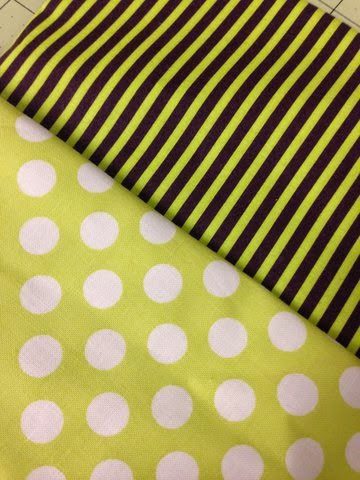
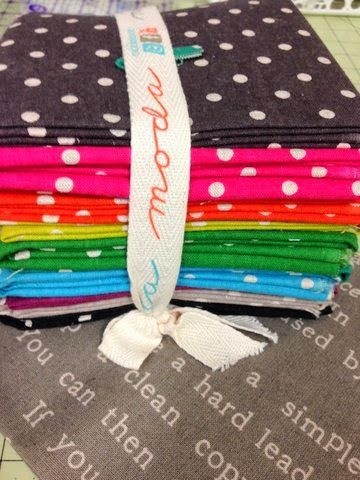
Stripes and Dots
Stripes make great churn dash blocks. Cut them across the stripe and team them with dots for the HST corners and centre block.
Text prints
Different scales of text prints can be used in the block or the background. They are fun and add a new dimension to any quilt as a substitute for a print or solid.
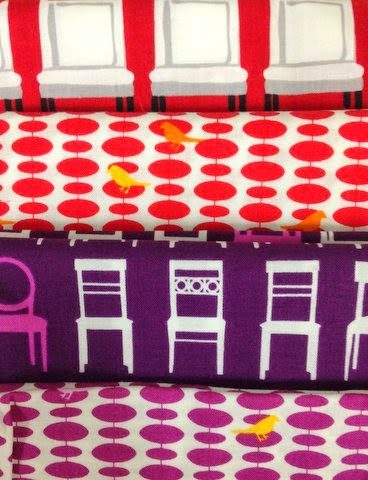
Fussy Cut
There are many fabrics suitable for fussing cutting to produce a pattern within a pattern. These chairs are perfect for the churn dashes as they fit nicely in a 2 1/2″ strip. Always remember with fussy cutting to allow a 1/4″ seam all around the element you are cutting.
Black and White, linens, shott cottons … the list is endless and I am looking forward to seeing what combinations everyone puts together.
Before we start
There can be so many variations of this block that it would be impossible to give fabric requirements for every scenario. I will be discussing 2 versions – Scrappy and uniform.
1. Scrappy – Each block uses different fabrics.
2. Uniform – Each block uses the same fabrics.
Scrappy version
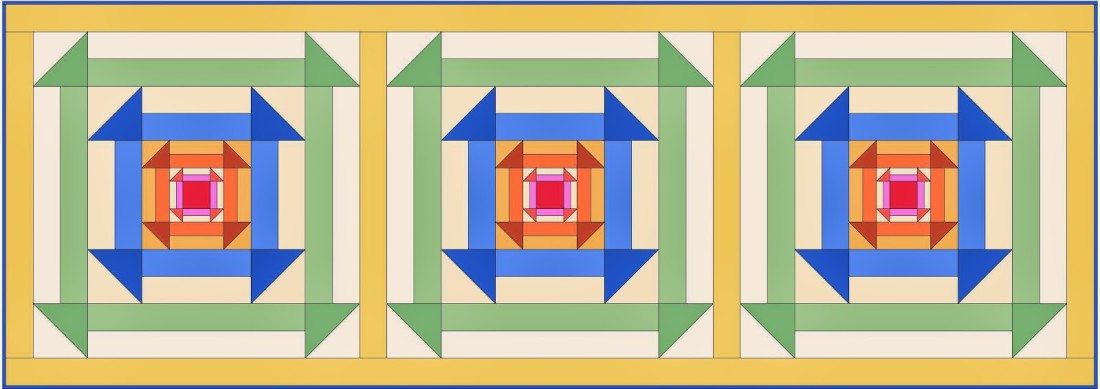
The pattern has all the instructions for the requirements and cutting of one block in a scrappy style. Use these instructions as a guide to make 3, 4, 9 or 16 block layouts.
The sashing strips measure 2 ½” x 24 ½” and the corner stones measure 2 ½” x 2 ½” for all layouts.
Ideal for pre-cuts.
The Nested Churn Dash blocks can be made from F8’s (9″ x 22″) or FQ’s (18″ x 22″ ). Jelly rolls could be used for the pieces that are no greater than 2 ½” in width, such as the sashing, borders (scrappy piecing), binding but not for the HST’s of the larger churns. To make a project larger than a single block, yardage will be required.
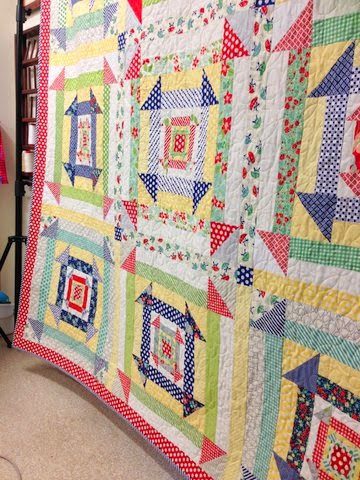
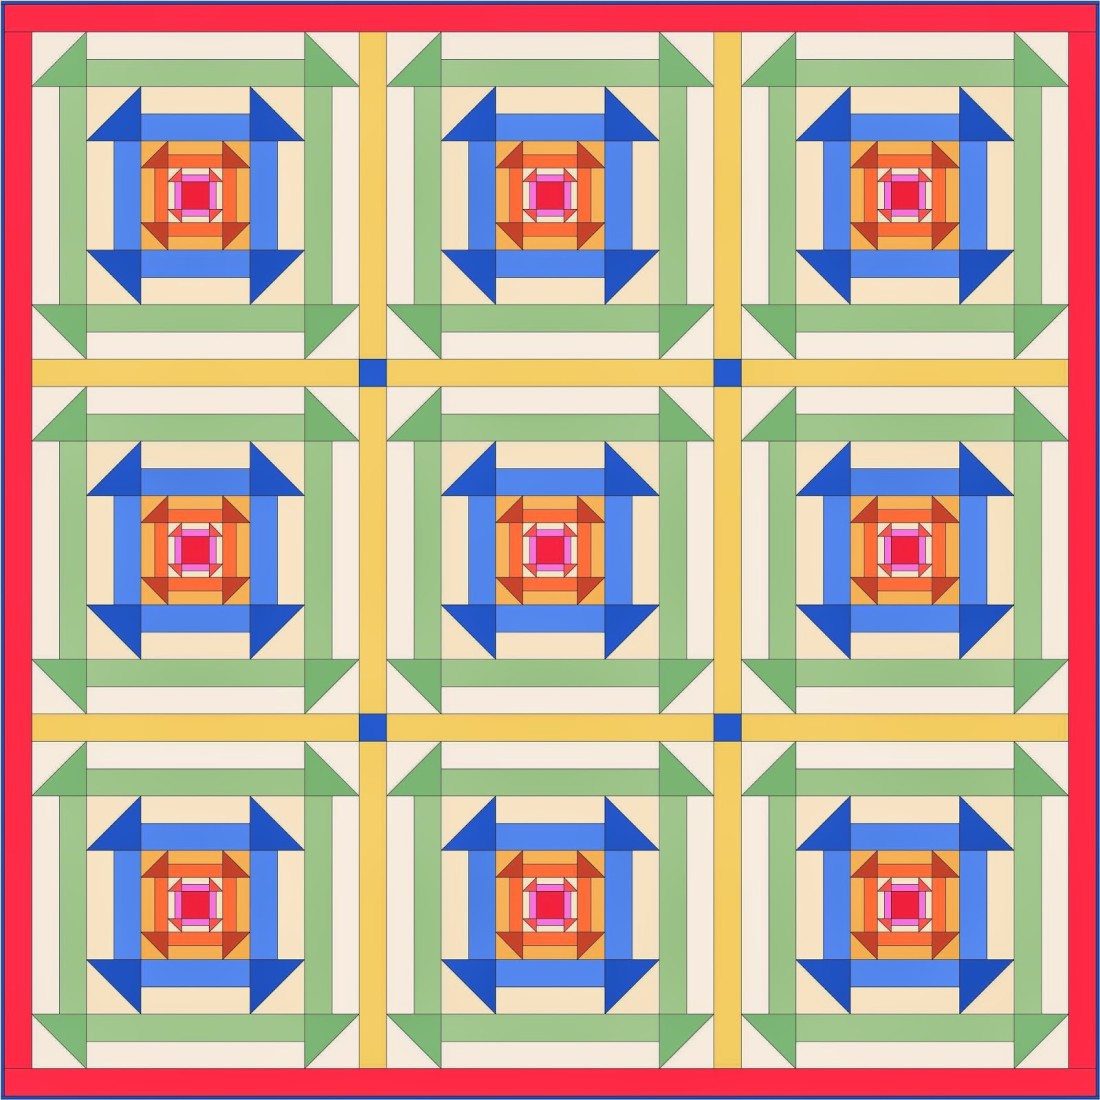
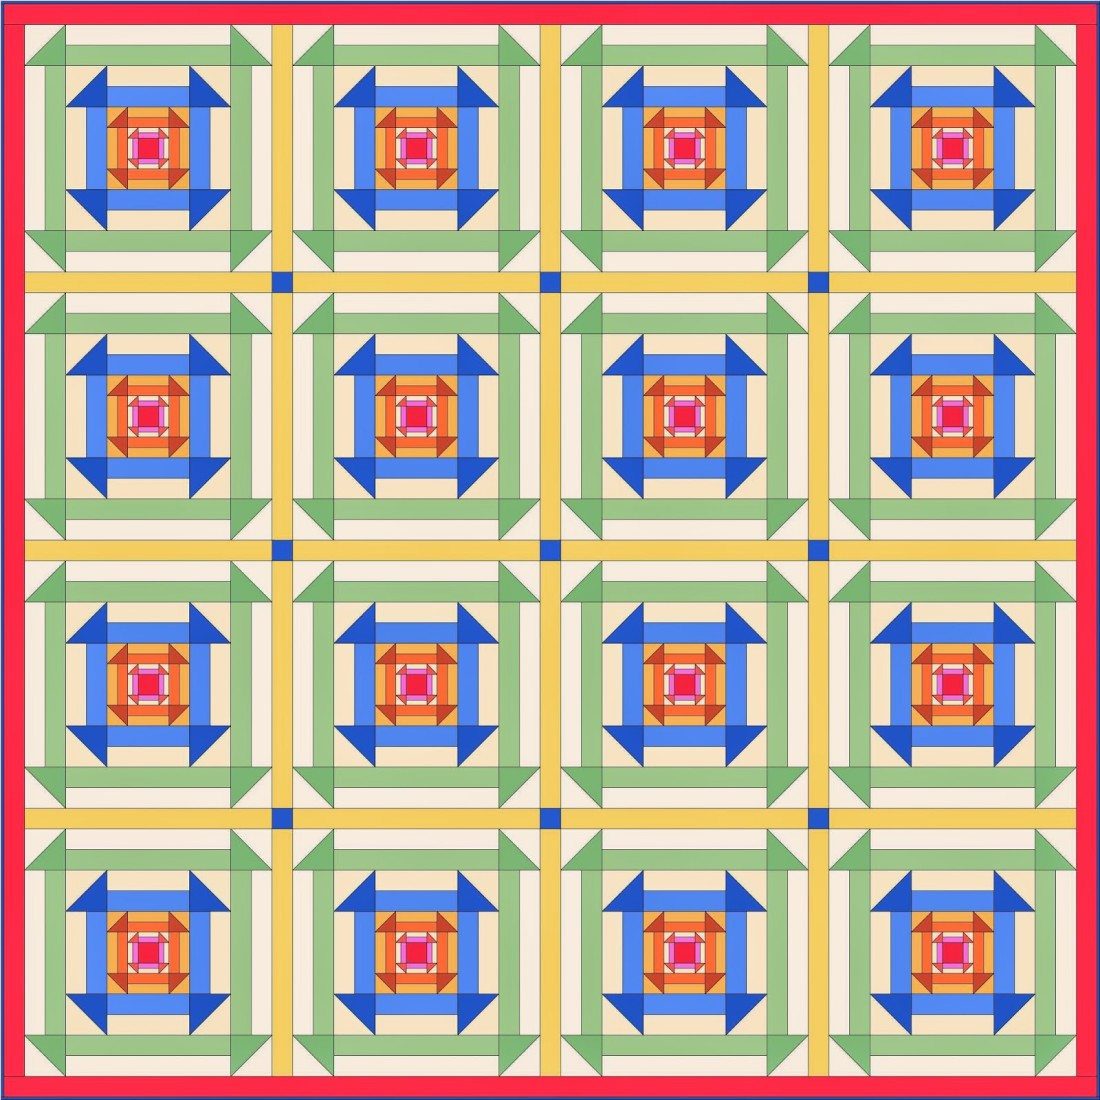
As an example of fabric requirements for the 80″ x 80″ depicted above, I used a selection of F8’s ( 9″ x 22″ pieces ) from 2 Bonnie and Camille collections – April Showers and Happy Go Lucky. I used 3 yards of assorted yellow fabrics and other prints from April showers for the churn borders and sashing, a 1 ½ yards of white dot fabrics. The border I used 2 ½ yards of red dot fabric cut longways to avoid piecing. Binding in the navy/white strips used ¾ yards.
Uniform version
The requirements listed in the requirements tables are for the minimum fabric requirements for each piece to make 3, 4, 9 or 16 blocks.
Finishing
Borders, Backing, Wadding and Binding requirements will be the same for both versions.
Borders are made using 2 ½” width strips. In the requirements tables, the measurements are given for piecing strips to make the desired border length. I prefer to buy enough yardage to cover the length of the larger border measurement to avoid piecing. The left over yardage can be used as part of the quilt or in the backing.
Backing is calculated from 42″ Width Of Fabric, pieced with selvages removed. Backing is 8″ wider and longer (width and height) from quilt top.
Wadding is calculated 4″ wider and longer ( width and height ) from quilt top.
Binding is made from 2 ½” x Width of Fabric strips. The fabric requirements can be found in the requirements tables for each layout.
Hint : These recommendations are suitable for finishing the quilt on a domestic machine. If you are sending your quilt top to a professional long arm service, always check their requirements for preparing the wadding and backing.
Piecing Layout
The letters of this diagram correspond with the letters in the requirements tables for each layout.
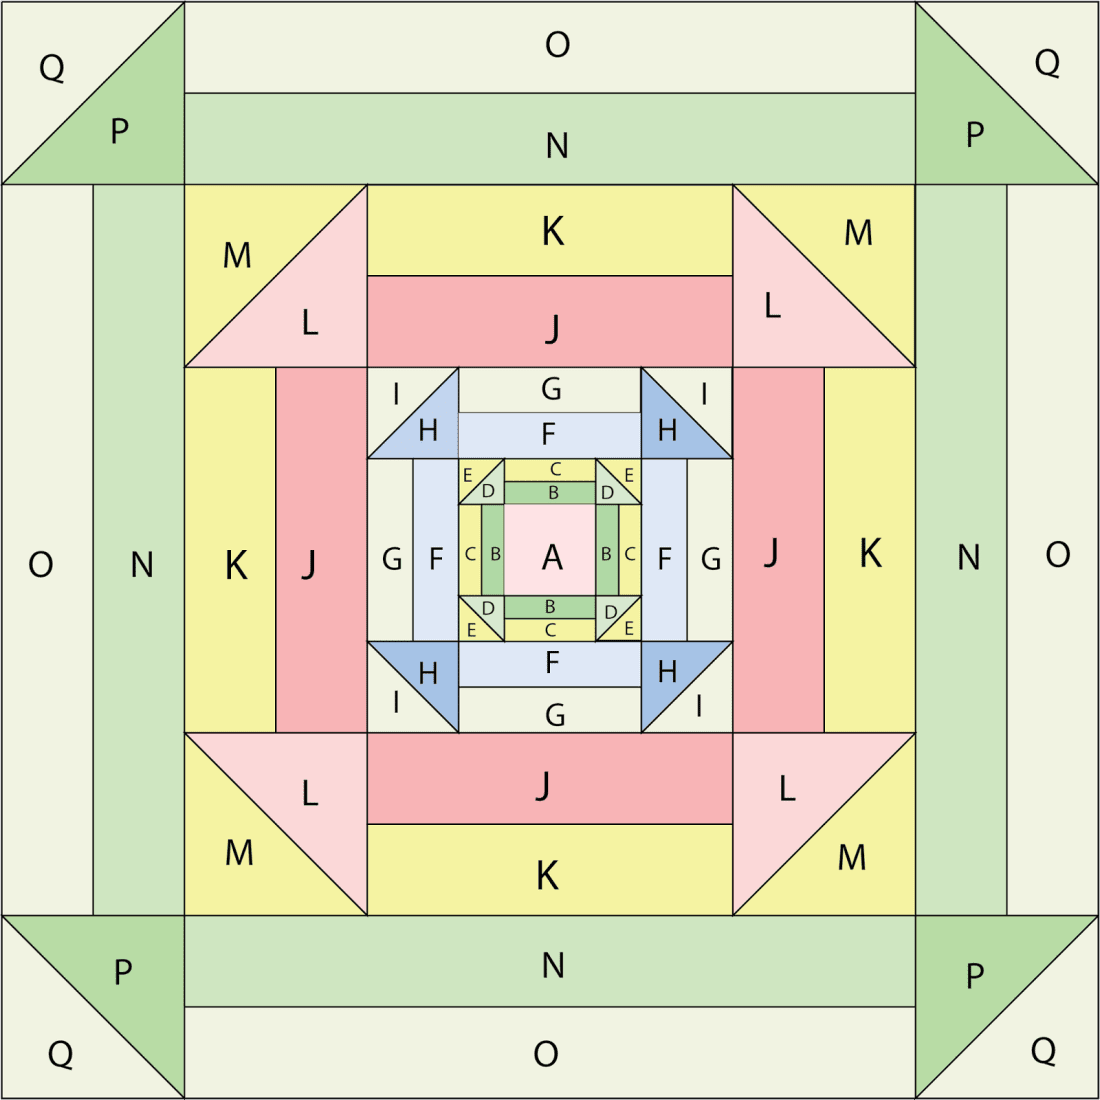
Fabric is calculated at 42″ width after selvages have been removed.
Cutting
The fabric requirements in the tables are based on cutting the width of a strip using the greatest measurement for the piece.
For example: Pieces F and G require strips to be cut 1 ½” x 4 ½”. I would cut a piece 4 ½” wide x width of fabric and then divide that strip into 1 ½” pieces.

Hint: When making a multi-block quilt, place all pieces in marked zip locked bags. This keeps them organised, ready for chain piecing.
Fabric Requirements for blocks made with same fabrics
This table is a guide for projects made using the same fabrics for each block.
The Sashing, Corner Stone and Border fabric requirements are the same for scrappy or uniform layouts.

In addition to the fabric requirements in the table, you will require binding, backing and wadding.
Mini Quilt (1 block) 24 ½” x 24 ½” finished
Requirements :
- 1 – pattern
- 29″ x 29″ piecing of wadding
- 1 yard backing fabric
- 3 – 2 ½” x width of fabric strips
Runner ( 1 x 3 block layout ) 28 ½” x 80 ½” finished
Requirements:
- 1 – pattern
- 32″ x 84″ piece of wadding
- 2 ½ yards backing fabric
- 7 – 2 ½” x width of fabric strips
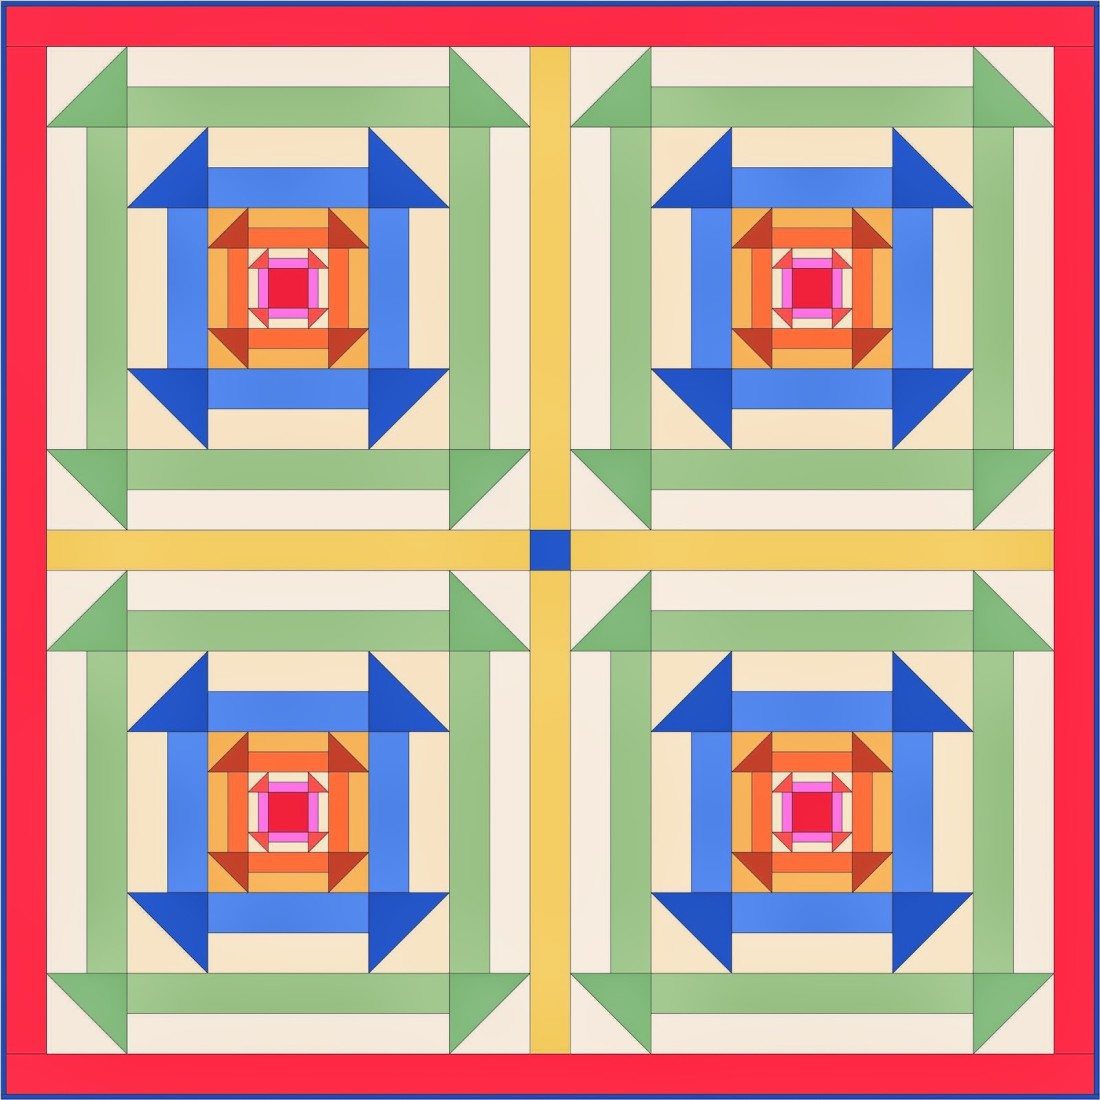
Lap Quilt ( 2 x 2 block layout ) 52 ½” x 54 ½” finished
Requirements:
- 1 – pattern
- 60″x 60″ piece of wadding
- 3 3/4 yards backing fabric
- 7 – 2 ½” x width of fabric strips
Double ( 3 x 3 block layout ) 80 ½” x 80 ½” finished
Requirements:
- 1 – pattern
- 85″ x 85″ piece of wadding
- 5 yards backing fabric
- 10 – 2 ½” x width of fabric strips
King ( 4 x 4 block layout ) 106 ½” x 106 ½” finished
Requirements:
- 1 – pattern
- 110″ x 110″ piece of wadding
- 9 ¾ yards backing fabric
- 12 – 2 ½” x width of fabric strips
Other Requirements
- Matching thread.
- Rotary Cutter
- Cutting mat
- General sewing notions, scissors, pins
- Air erasable marking pen or chalk pen
- Sewing machine, well maintained and ready to sew.
- Iron and pressing board. Iron set to dry.
- Basting pins
Hint : I love Aurifil thread and that is no secret. I use 50wt cotton for piecing because it leaves a nice, flat seam. Generally when I am choosing a colour thread to blend with my fabrics, I lay some thread over the fabrics to see the contrast between the thread and fabric. I always use white when white fabrics are involved in piecing and dark charcoal grey when black fabrics are present. Using a slightly lighter shade in piecing black is easier to see when unpicking (yes, I unpick). Greys, and neutral shades are always handy in piecing. When uncertain, try out your thread colour selection for piecing on a few scraps and then gently pull the seam apart from the right side. What do you see? Is it too dark? Too light? Shortening the stitch length can also reduce the impact of the piecing thread colour.
Schedule
June 1st – Requirements, fabric selections and layouts.


13 Comments
Quilt Kitty
I am thinking a bright new table runner for my sewing room would be gorgeous! Thanks for all the info!
Melody
Brilliant tutorial, I'm really looking forward to this project
Maryjo
I absolutely love your nested churn dash! And you are so thorough in all of your directions! Count me in:)
Anne D
Bought the pattern earlier today and can't wait to make the mini. Love it!
barbara woods
That's a triple churn dash, I love it
Deborah Van Wormer
I started the pattern, so excited! But soon found the measurements for pieces C and B are wrong. Because they are 1/4" short to mate with pieces D and E the HST. Has anyone else found this?
Debra
Love it! Bought the pattern today. Hopefully start on it next week.
Mdm Samm
only you could make me light headed with your amazing tut…and your quilt jane is simply sunburst in our quilting world
lovetostitch
I've been wanting to do this from the first time I laid eyes on that scrumptious block!! I made mine today (1 block) and now I want a whole quilt. It's pretty wonderful!! Thank you!! I will post my photo tomorrow on Flickr when lighting is better.
Lesley
Thank you so much for hosting this wonderful QAL. I adore your pattern and have been so inspired by your creations and those of the designers. I made two blocks so far…one has been finished as a wall hanging or a table topper and the other may be the beginning of a nine block quilt.
Gwen Ziegler
love the block and all the ideas for usage 🙂
Alejandra Balanzario
Beautiful block, will make a wonderful quilt
Suzie
Great block and suggestions. I. Looking forward to trying the table runner. Thank you